CoBot Bartender Lab
I needed a fun final project for students in my Industrial Automation course.
Students had previously found hearing about my automated bartender entertaining, so I decided to create a bartender setup based on the systems which they had spent the semester learning (2024). In the automation course I teach programmable logic controllers (PLCs) and collaborative robots (CoBots). Students have to complete tasks with one, the other, or both during labs.
For this final project, students needed to program the PLC and CoBot to dispense four different drinks, each with different ingredients, and for different sized drinks - single, double or triple based on potentiometer dial. The buttons and potentiometer were connected to the PLC, which had output wires to and input wires from the CoBot, output wires to the stepper motors, and input wires for encoder signals from the motors. Students also needed to scoop ice from a tray using the scoop and place it into the cup.
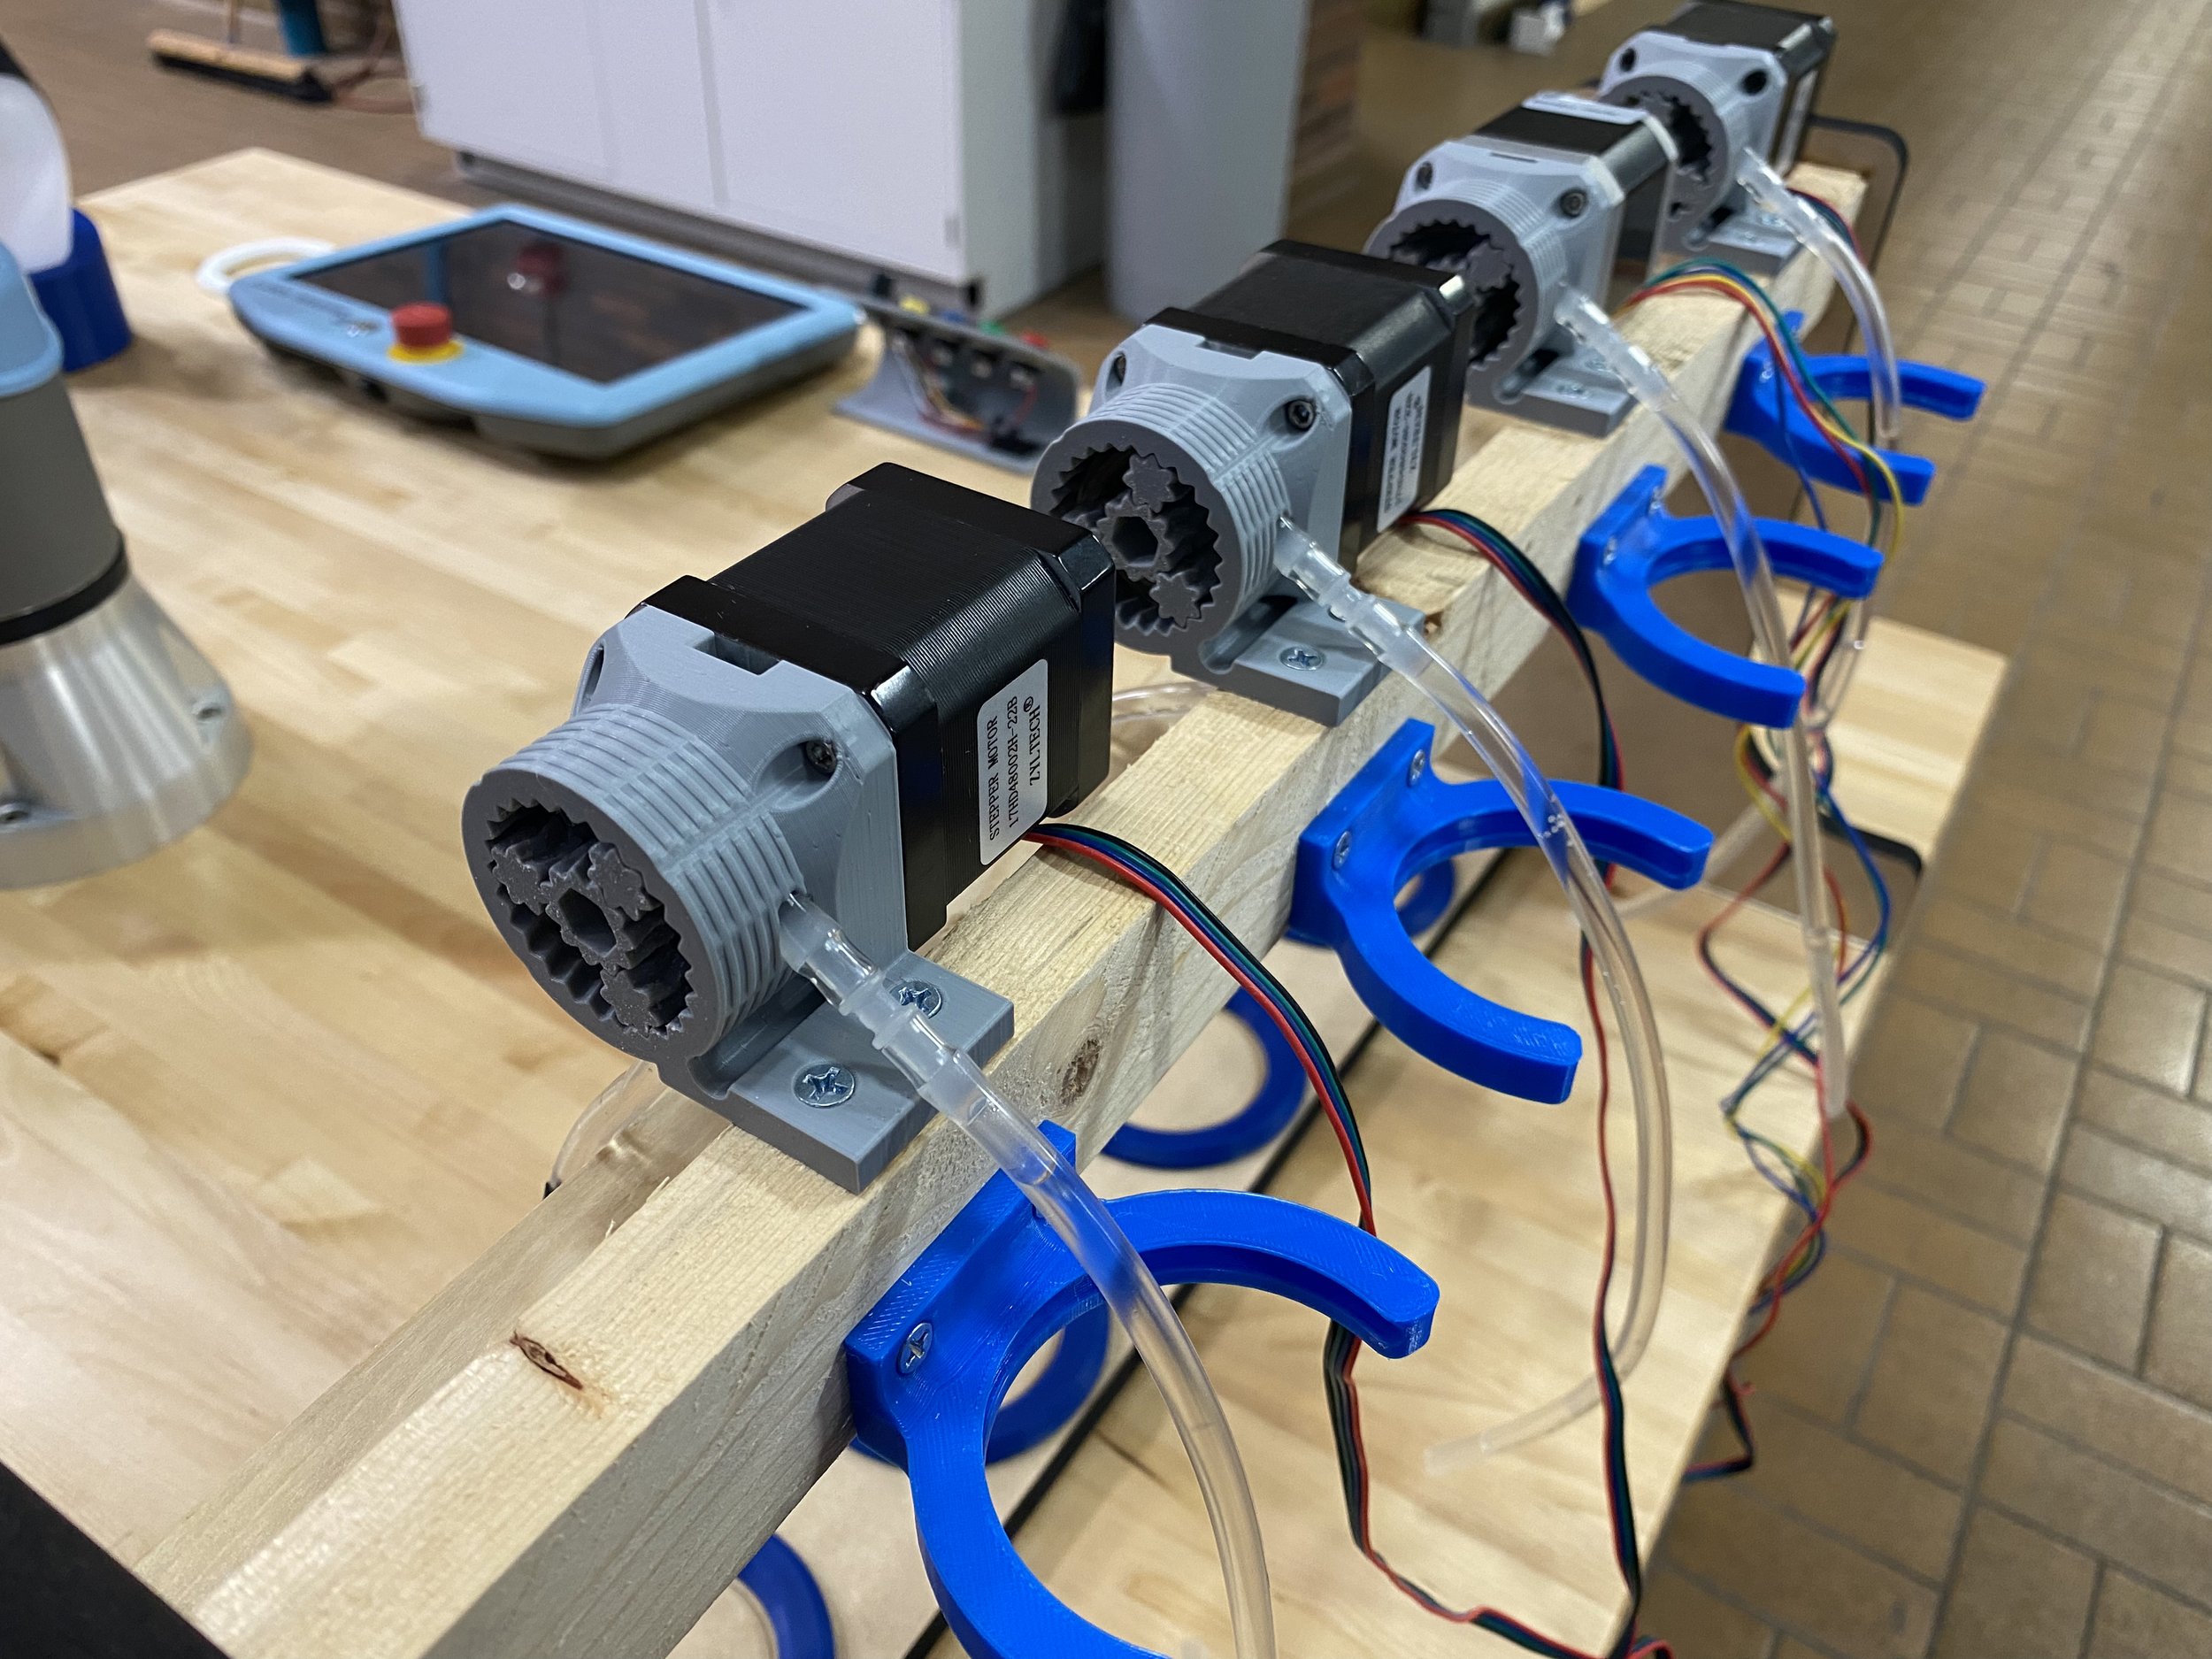
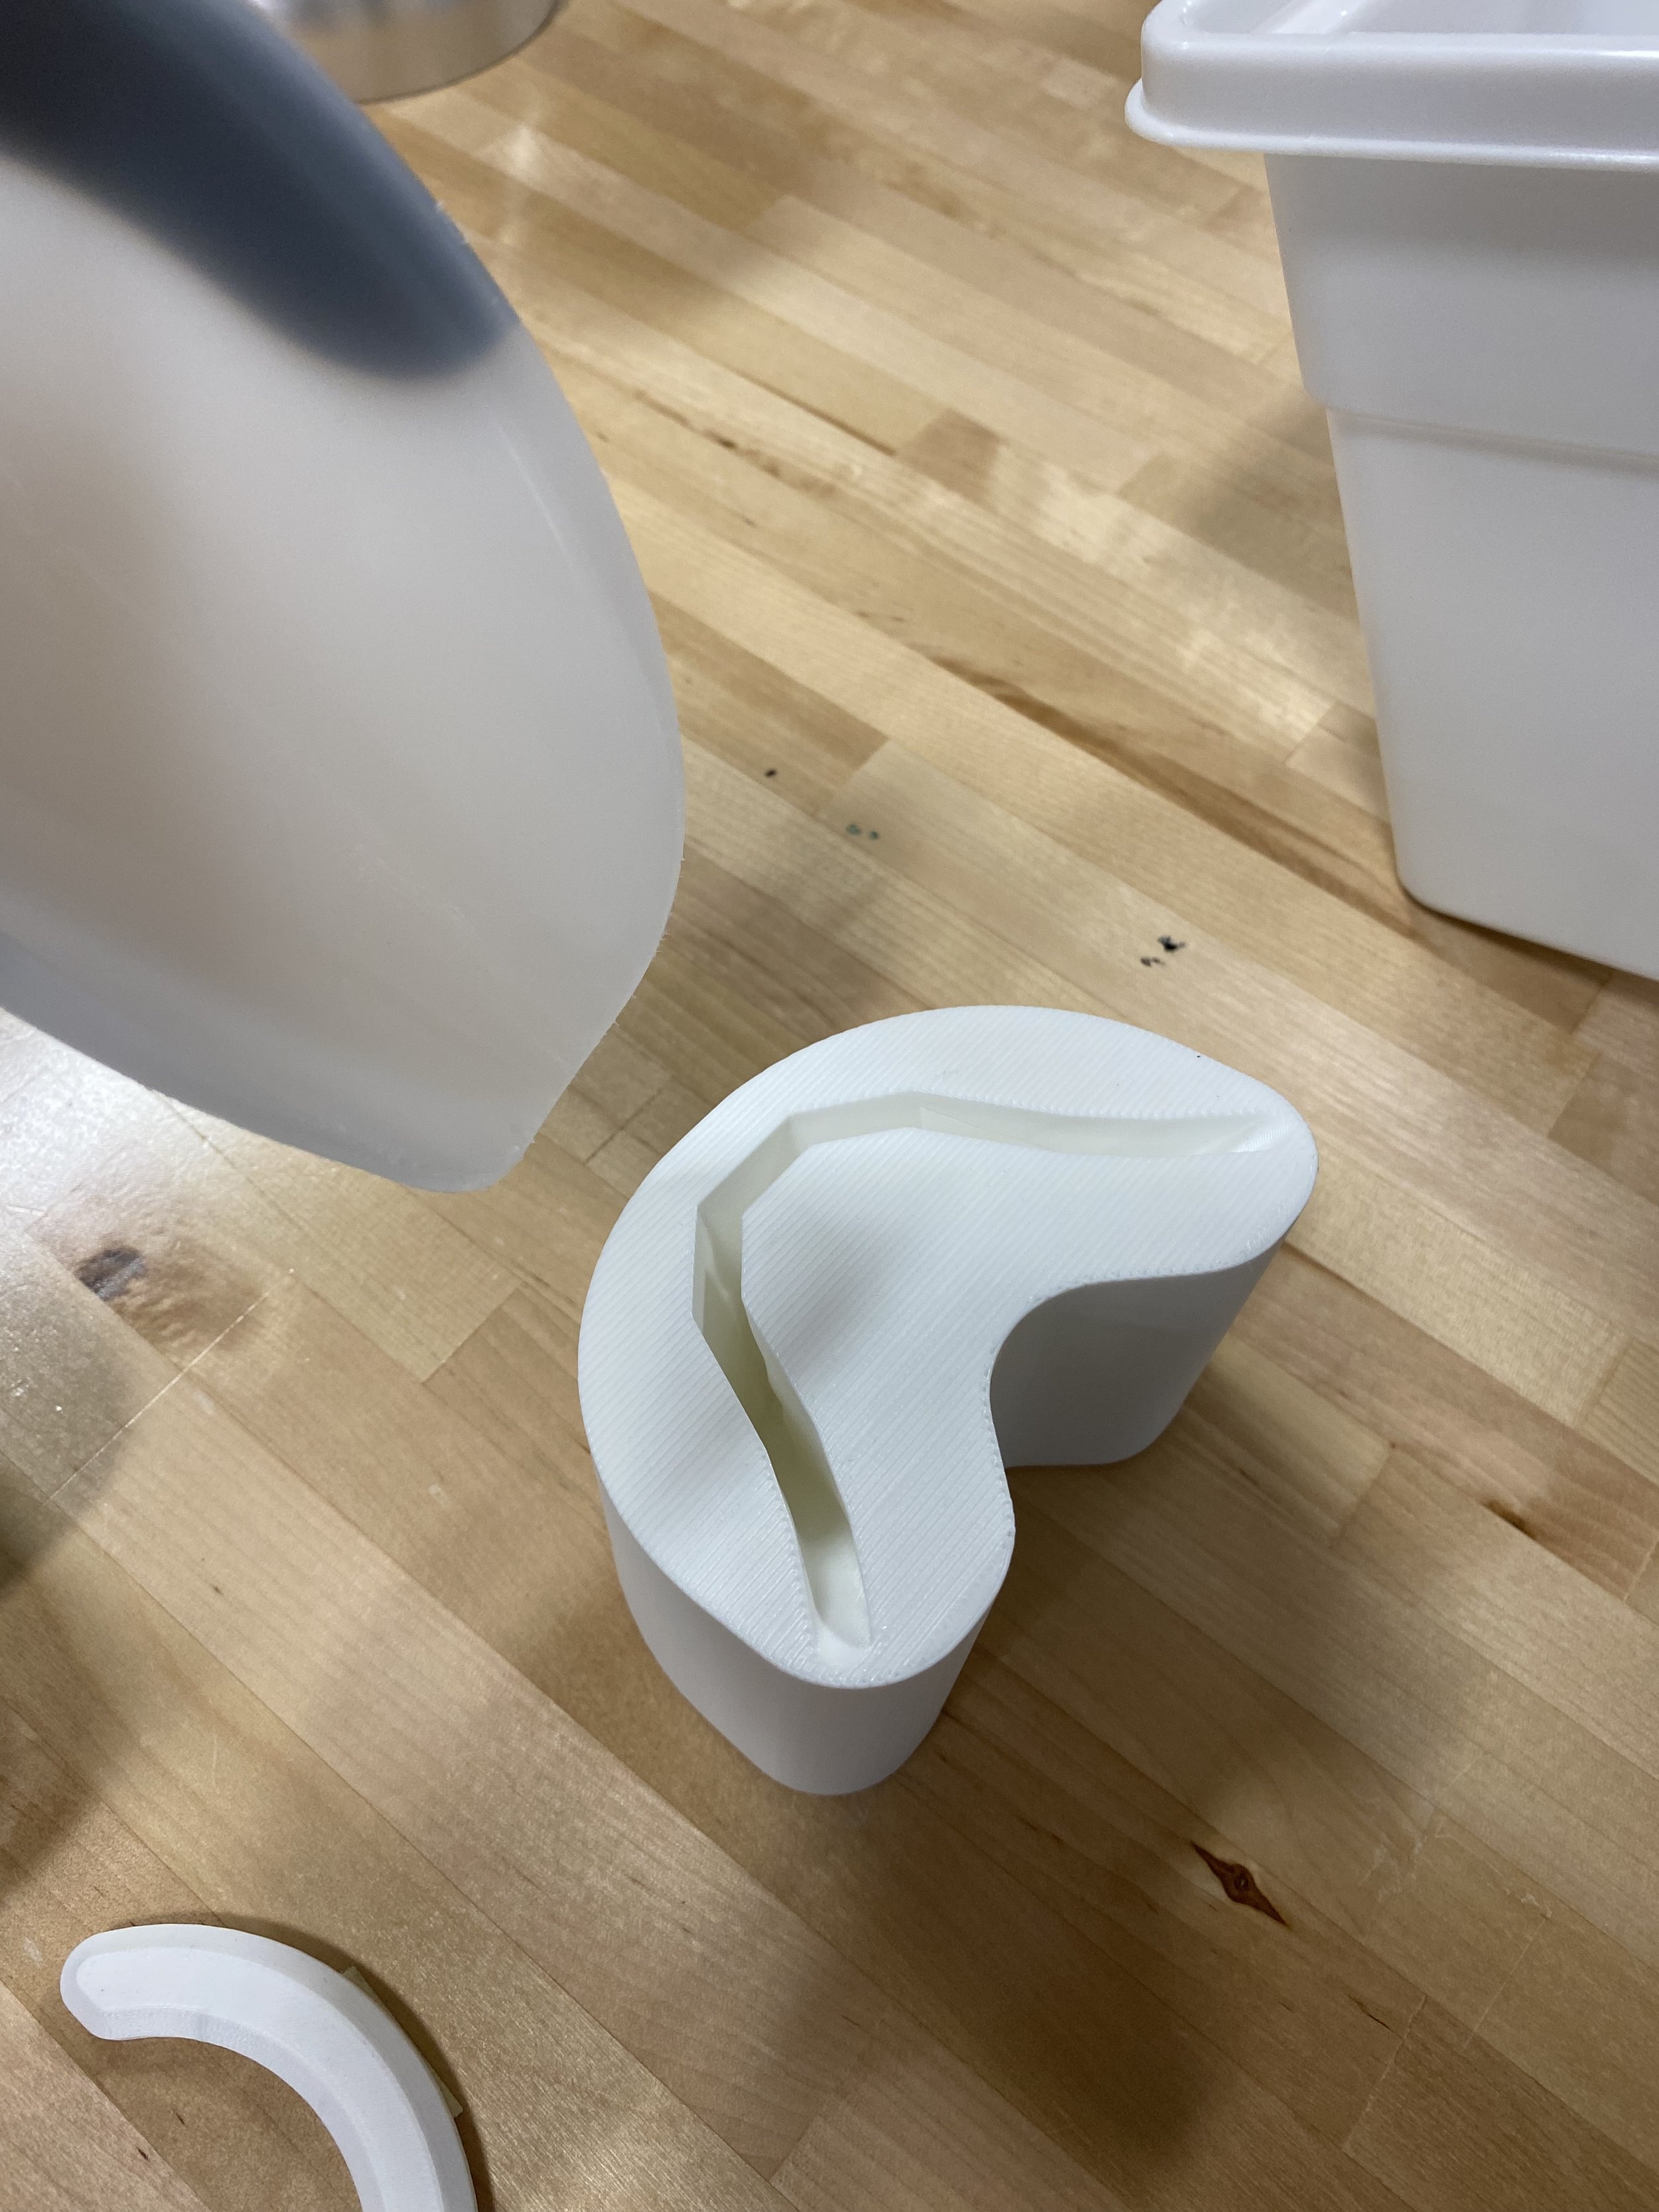
I used my pump and bottle clip designs from my automated bartender, but all of the other components were made for the lab. The button/dial stand, scoop holder, and cup placement rings were all 3D printed. The pump/bottle stands and ice tray incline wedge were laser cut. The stepper motors were controlled by Arduino microcontrollers which outputted ‘fake’ motor encoder pulses, which I programmed to toggle high/low and back after a specified number of motor steps. To allow for signals between the 24V PLC and 5V Arduino, I hand soldered two boards, one with a set of voltage dividers to reduce the 24V signal and the other with FETs for toggling 24V with a 5V signal. I realize this is sub-optimal for noisier environments, but the internal pulldown resistors for the PLCs used in lab are small, ~3kOhms, which means most optoisolators cannot be used without more complex circuitry.
I made three of the CoBot Bartender lab setups in a couple of weeks during ‘spare time’ at work. I had fun doing it and, despite the challenge, the students appreciated the entertaining nature of the project.
Software used: Solidworks, PrusaSlicer, LightBurn
Languages used: C++, Structured Text, URScript


